
As someone who’s configured CAC access inside VMs across VMware, VirtualBox, and Parallels — usually while someone was waiting on the other end of a deadline — I learned every quirk of this process the frustrating way. Today I’ll give you the straight path so you don’t spend three hours figuring out why the reader isn’t showing up inside the guest OS.
How VM CAC Access Actually Works

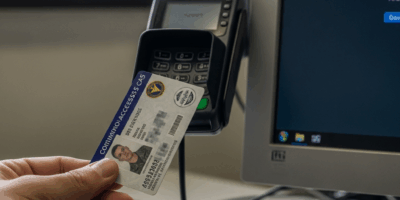
Your CAC reader plugs into your physical machine via USB. To use it inside a virtual machine, that USB device gets “passed through” to the guest OS — the VM intercepts the USB connection and treats the reader as if it’s plugged directly into virtual hardware.
Two approaches exist:
- USB Passthrough: The VM takes full control of the reader. Your host OS loses access while the VM is running. This is what most people use and what this guide covers.
- PC/SC Daemon Sharing (Linux hosts): The host’s smart card service shares access with the VM. More complex, lets both environments use the reader simultaneously. Skip this unless you have a specific reason for it.
VMware Workstation and VMware Fusion
Windows/Linux Host — VMware Workstation
- Plug your CAC reader into a USB port on the host
- In VMware Workstation, click VM → Removable Devices
- Find your reader in the list — look for “SCR,” “Identiv,” “HID,” or “OMNIKEY”
- Click Connect (Disconnect from Host)
- The reader now appears inside the VM as a locally connected device
- Inside the VM, install ActivClient and DoD root certificates exactly as you would on a physical machine
Mac Host — VMware Fusion
- Shut down the VM first
- Go to Virtual Machine → Settings → USB & Bluetooth
- Enable USB 2.0 Compatibility or USB 3.1 to match your reader
- Enable auto-connect if the option is available
- Start the VM, plug in the reader — it should auto-connect
- If it doesn’t, use Virtual Machine menu → USB Devices and connect manually
VMware USB Filters (Set It and Forget It)
Go to VM Settings → USB Controller → Add Filter, select your reader, and it automatically passes through every time you plug in. No manual connecting each session.
VirtualBox
Install the Extension Pack First
VirtualBox’s default USB 1.1 controller doesn’t work reliably with CAC readers. You need USB 2.0 or 3.0 passthrough, which requires the Extension Pack.
- Download the VirtualBox Extension Pack from virtualbox.org — it must match your VirtualBox version exactly
- Install it via VirtualBox → Tools → Extensions
- Open your VM’s Settings → USB
- Select USB 2.0 (EHCI) or USB 3.0 (xHCI) controller
- Click the plus icon to add a USB filter
- Insert your reader and select it from the list
- Click OK and start the VM
Confirm Inside the VM
Once running, open Device Manager inside the VM and look under Smart Card Readers. Your reader should be there. If it shows as unknown device, install the reader driver from the manufacturer’s website inside the VM — not on the host.
Parallels Desktop (Mac)
USB Passthrough in Parallels
- Go to Parallels Desktop → Preferences → Devices
- Find your CAC reader in the Connected Devices list
- Set it to Connect to Windows — not “Connect to Mac”
- Or plug in the reader while the VM is running — Parallels will prompt you to assign it
Coherence Mode Heads-Up
I’m apparently one of those people who runs in Coherence mode by default, and USB device prompts show up as Mac system notifications rather than obvious dialog boxes. Watch for those. Always choose “Connect to Windows” for your CAC reader — it’s easy to miss if you’re not expecting it.
Software Setup Inside the VM
Once passthrough is working, configure the VM exactly like a physical machine:
- Install DoD Root Certificates: Download InstallRoot from cyber.mil and run it inside the VM
- Install ActivClient: Get the version matching your Windows version
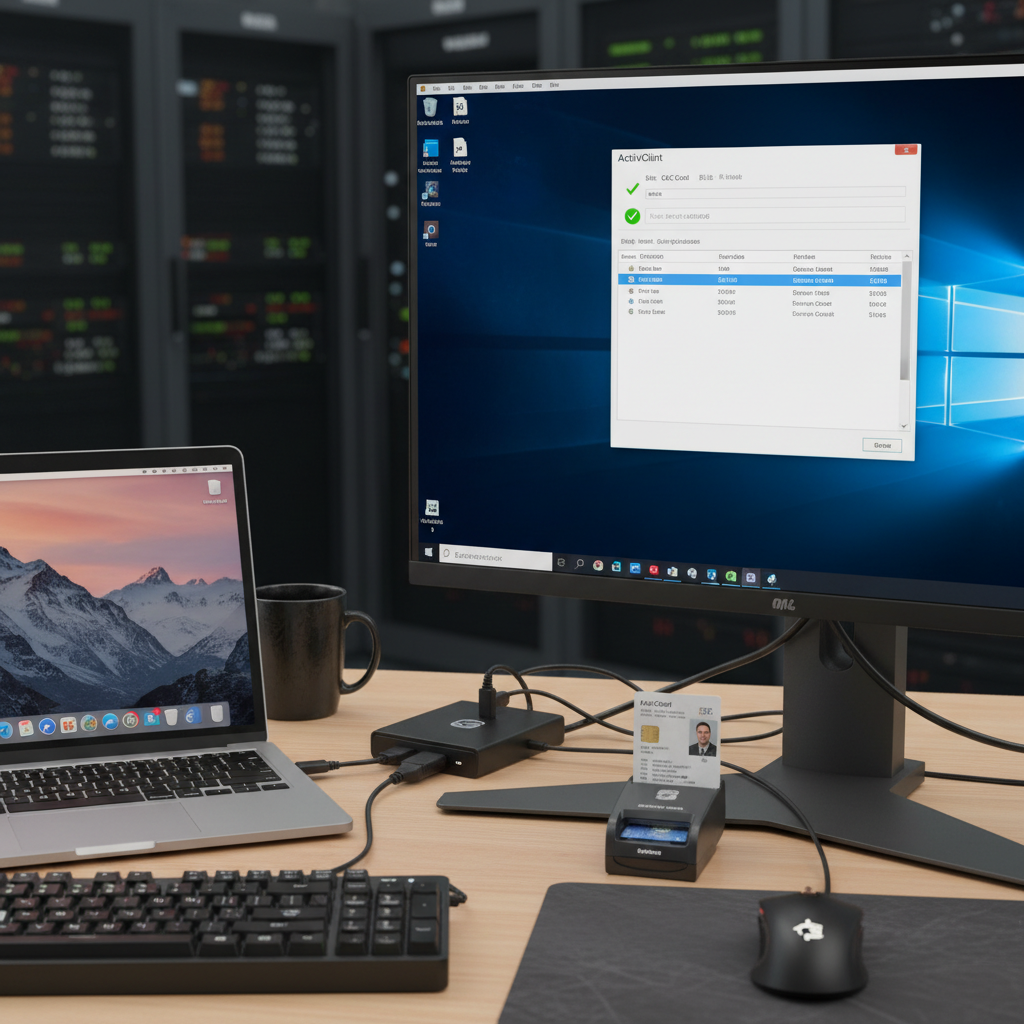
- Verify: Open ActivClient User Console — your CAC should show as “Connected”
- Test in Edge: Navigate to a .mil site and confirm CAC authentication works
- VPN: Install GlobalProtect or your VPN client inside the VM and authenticate with your CAC
When Things Go Wrong
Reader Not Showing Up in the VM
- The host OS might still be holding the device — disconnect it from the host before connecting to the VM
- Try a different USB port on the physical machine — some ports have passthrough limitations
- VirtualBox: double-check the Extension Pack is installed and USB 2.0+ controller is selected
Reader Shows Up But Certificates Not Found
- DoD root certificates need to be installed inside the VM separately — the host’s certificate store doesn’t carry over
- Each VM is its own clean environment for ActivClient and certificate installation
- Clear browser cache inside the VM
Reader Keeps Disconnecting Mid-Session
- Skip the USB hub — plug the reader directly into a port on the physical machine
- In VMware, create a USB filter to give the reader a consistent assignment
- Disable USB selective suspend on the host for the port your reader uses
Conclusion
Getting a CAC reader working inside a VM takes one extra step compared to a physical machine — USB passthrough — but once that’s configured it’s just as stable. VMware gives you the easiest experience with the Removable Devices menu, VirtualBox needs the Extension Pack installed first, and Parallels handles it through device preferences with a single setting. Set up ActivClient and DoD certificates inside the VM after passthrough is working and you’re done.


Leave a Reply