Why Windows 11 Home Makes CAC Setup Harder
CAC setup on Windows 11 Home has gotten complicated with all the conflicting guides and outdated forum posts flying around. As someone who spent three weekends wrestling with middleware errors on a personal laptop, I learned everything there is to know about getting a CAC card working without enterprise tools. Today, I will share it all with you.
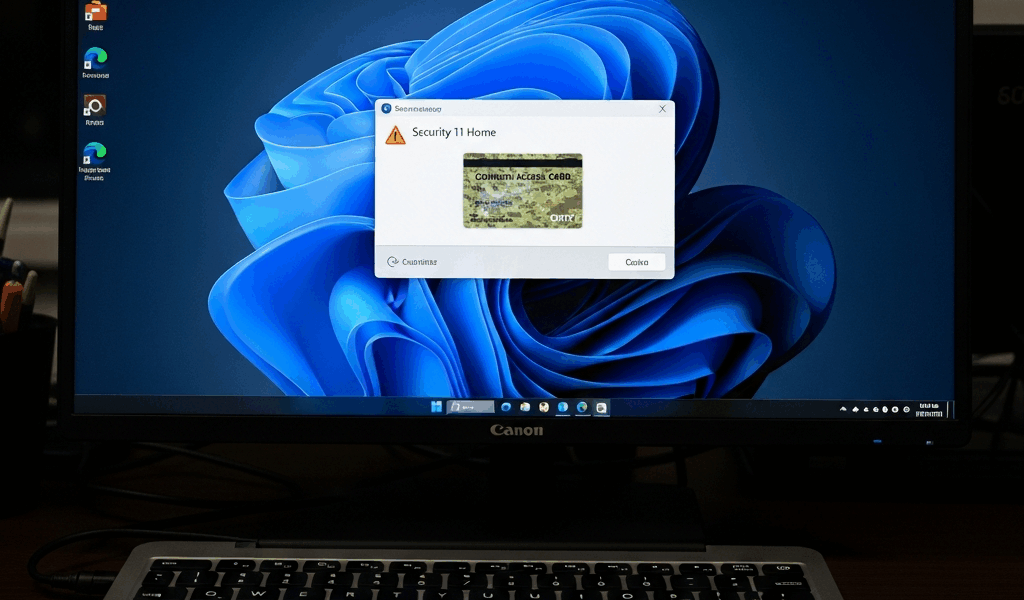
But what is the actual problem here? In essence, it’s a missing tool called Local Group Policy Editor (gpedit.msc). But it’s much more than that. Enterprise and Pro users lean on Group Policy to push certificates and middleware settings automatically — Home edition users don’t get that luxury. You’re doing every step by hand. Government IT departments skip entire sections of setup documentation because Group Policy handles it silently. You can’t.
Home edition also assumes you’re a regular consumer, not a contractor or military family member trying to hit a DoD portal. Most CAC guides were written for government employees on agency-managed machines. Your personal laptop doesn’t fit that mold. Browser credential providers behave differently. Security policies are tighter in some spots, looser in others — just never in the ways that actually help you.
Here’s the realistic part: it works. Thousands of personal users, contractors, and military family members get this running every year. You just need to know which steps actually apply to a Home edition machine versus which ones assume a domain-managed environment. This guide strips those assumptions out completely.
What You Need Before You Start
Get these four things lined up before downloading anything. Seriously — don’t skip this part.
- A CAC card reader — USB-A or USB-C, your call. The Gemalto IDBridge CT710 runs around $25 and has never given me trouble. The SCM SCR3310 is another solid pick at roughly $30. Expect to spend $20–$60 total. You need actual hardware — software alone won’t do it.
- The correct middleware — Go directly to militarycac.com. It’s the community-maintained source that actual DoD users and contractors trust. Download whatever is labeled “CAC Middleware” or “ActivClient Alternative” for Windows. Skip the generic smart card software from consumer electronics sites. That stuff is a headache.
- DoD root certificates — Also on militarycac.com, listed separately from the middleware installer. You want the complete root CA bundle, the .p7b file. Download it before you start anything else.
- A quiet workspace and fully closed browsers — Not minimized. Closed. Chrome, Edge, Firefox — all of them. Middleware installers sometimes conflict with browser credential caches, and I learned this the hard way after spending 90 minutes wondering why my certificate prompt never showed up. Also worth noting: Windows Hello and biometric drivers can interfere with the whole process. If your laptop has Windows Hello active, temporarily disable it under Settings > Accounts > Sign-in options before you begin.
One more thing. Have your CAC PIN ready. You won’t need it during installation, but you will need it for testing. If you’ve forgotten it, reset it through your agency’s credential manager first — otherwise this guide can only take you so far.
Step-by-Step Middleware Installation on Windows 11 Home
Stripped down to what actually matters on Home edition. No domain-management assumptions. No Group Policy shortcuts.
- Download the middleware installer from militarycac.com. Save it somewhere obvious. Desktop works fine.
- Right-click the installer and select “Run as administrator.” This matters more on Home than people realize — some credential operations need elevated privileges that Home edition doesn’t hand out automatically.
- Run through the setup wizard. Accept the license agreement and leave the installation directory at its default. Don’t redirect it to Program Files (x86) or some custom folder you made. Middleware reads from expected paths, and Home edition’s file permissions get genuinely weird when you deviate from defaults.
- Restart your machine when the installer finishes. Not optional. Middleware drivers load on boot — skipping the restart means your card reader won’t get recognized later, and you’ll spend an hour troubleshooting something that a reboot would have fixed.
- Plug in the CAC card reader after the restart, not before. Let Windows detect it as a new USB device and finish installing it automatically. You’ll see a small notification pop up in the bottom-right corner when it’s done.
- Open Device Manager (right-click the Start button > Device Manager). Expand “Smart Card Readers.” Your reader should be sitting there without a yellow triangle or exclamation mark. If you see that yellow triangle, the driver didn’t load correctly — unplug the reader, wait about 30 seconds, then plug it back in.
- Insert your CAC card. Open the middleware’s certificate viewer — usually found in Start > All Apps under whatever the middleware package calls itself. Your certificate should appear in the list. If it doesn’t show up, try removing the card and reinserting it slowly. Sounds too simple. Works anyway.
Probably should have opened with this section, honestly. On Windows 11 Home, the middleware installer sometimes runs silently with zero confirmation dialog. You’ll stare at your screen convinced nothing happened. Check your Start menu for the new app before assuming the install failed. Search for “CACKey” or the specific middleware name if you can’t find it.
Installing DoD Root Certificates Without Group Policy
This is the section most generic guides skip entirely for Home users. It’s also where most setups fall apart — so don’t skim it.
Without Group Policy, you import certificates manually using Certificate Manager. Five minutes, completely doable, zero technical background required.
- Open Certificate Manager. Press Win+R, type certmgr.msc, hit Enter. Windows will ask for admin permissions. Click Yes.
- Expand the folder tree on the left. Click “Trusted Root Certification Authorities,” then right-click the “Certificates” subfolder underneath it.
- Select “Import.” A wizard opens. Click Next.
- Browse to your .p7b file — the DoD root certificate bundle you downloaded from militarycac.com. Select it, click Open.
- Leave everything at default settings on the next screen. Click Next, then Finish. Windows throws up a security confirmation. Click Yes — yes, you really do want to trust DoD certificate roots.
- Repeat this for any additional bundles listed on militarycac.com. Most setups need DOD_ROOT_CA_3 and DOD_ROOT_CA_4 at minimum, sometimes DOD_ROOT_CA_5 as well. If you’re unsure which ones apply to you, just import all of them. Duplicate imports don’t cause problems — I’ve done it accidentally and nothing broke.
Skipping this step is exactly why people get “certificate not trusted” errors in their browser even though the card reader works and the middleware recognizes the cert. The browser needs to trust the authority that signed your certificate. Home edition doesn’t come with DoD roots pre-installed. That’s what makes this step endearing to us Home edition users — it’s annoying, but it’s genuinely ours to own. So, without further ado, let’s move on.
Testing Your CAC Login and Fixing Common Errors
Go to a real CAC-gated site. milConnect works if you have access. The DoD portal is another solid test. Don’t try improvising a test URL — you need actual CAC-enabled authentication to confirm anything.
Navigate to the site normally. A certificate selection prompt should appear asking which certificate to use. Pick your CAC certificate — it’ll have your name on it. Enter your PIN when prompted. If the page loads and takes you to your account, you’re done. Success looks like a dashboard, not another login screen.
Common error: “Card not detected.” The reader is plugged in but the system can’t see the CAC. Unplug the reader completely. Wait 30 seconds. Open Certificate Manager and hit F5 to refresh it. Reinsert the card into the reader. Plug the reader back in. Nine times out of ten, Windows just needs a full reset on that USB connection. Don’t make my mistake of spending 45 minutes reinstalling middleware before trying the obvious thing first.
Common error: “No certificate selection prompt appears.” The browser never asks which certificate to use. This almost always means the root certificates didn’t import correctly — or didn’t import at all. Open Certificate Manager and look under Trusted Root Certification Authorities. If the DoD roots aren’t listed, run the import wizard again. If they are listed and the prompt still won’t appear, switch browsers. I’m apparently an Edge person and it works for me while Chrome never cooperates on my home machine. Edge and Chrome store credentials separately on Windows 11 Home, so the fix is sometimes that simple.
Common error: “Certificate rejected by server.” The prompt appears, you pick your cert, enter your PIN, and the site calls it invalid anyway. You’ve done everything correctly — the issue is on the server’s end. Try a different CAC-gated site to confirm your setup actually works. If another site accepts it, the original site has a configuration problem that has nothing to do with your installation.
When your account dashboard loads without security warnings, the CAC middleware is installed and working correctly. Stop troubleshooting at that point — you’re done.


Leave a Reply