How to Set Up Military Email in Outlook: Complete Guide (2026)
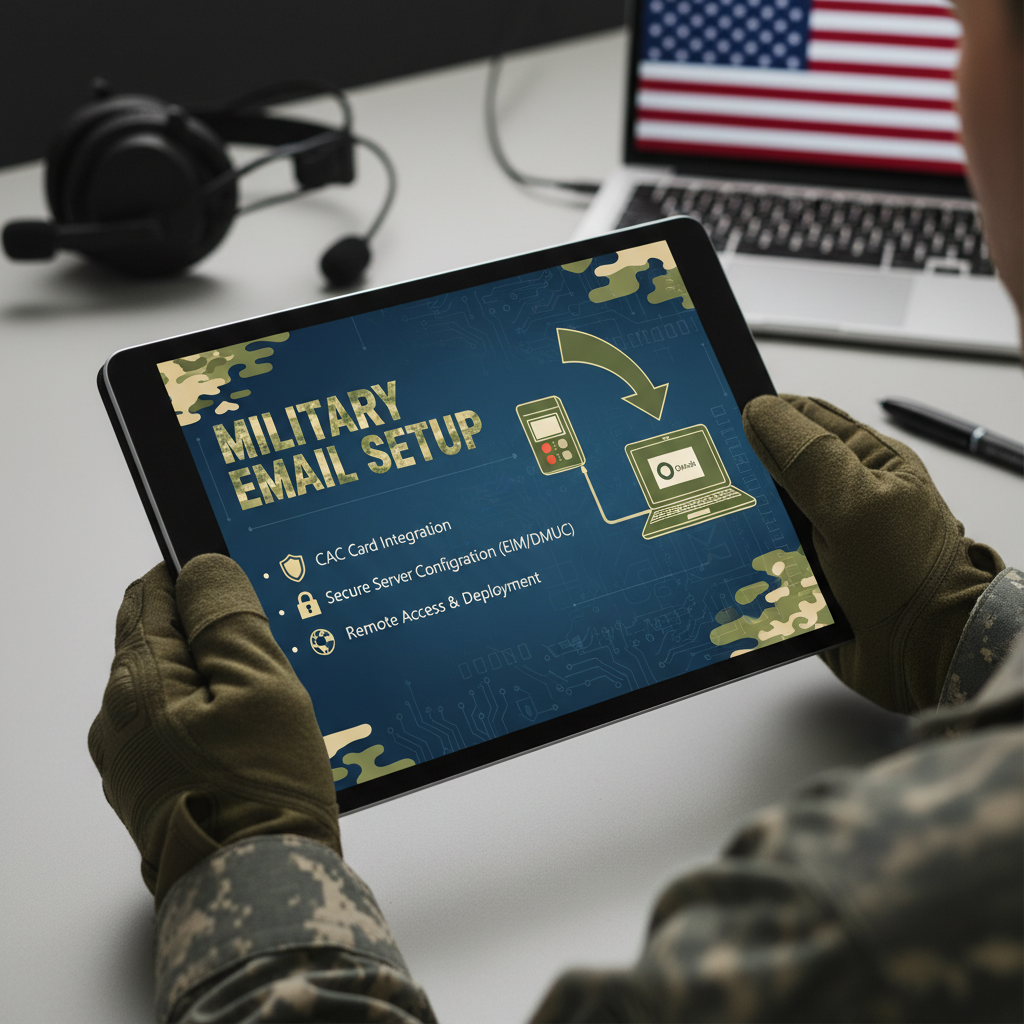
Setting up your military email (.mil address) in Microsoft Outlook can be challenging due to strict security requirements, CAC authentication, and certificate issues. This comprehensive guide walks you through every step of configuring your DoD email in Outlook on Windows, Mac, and mobile devices, including troubleshooting common problems.
Quick Overview
What you’ll need:
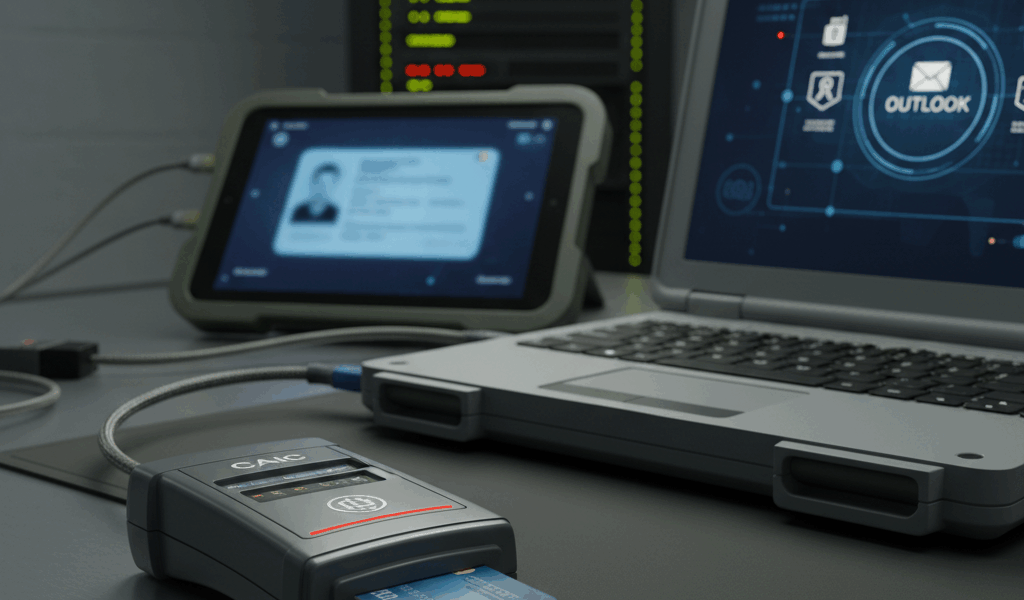
- Valid CAC (Common Access Card) or PIV card
- CAC reader (USB) installed and working
- DoD certificates installed
- Your military email address and password (if applicable)
- Microsoft Outlook (Desktop version recommended)
Estimated time: 15-30 minutes for first-time setup
Important: Desktop vs Web vs Mobile
Military email access varies by method:
- Outlook Desktop (Windows): Full CAC authentication support, most reliable
- Outlook Web App (OWA): Browser-based, requires ActivClient or similar
- Outlook Mobile App: Limited support, requires special configuration
- Mac Outlook: More complex setup, may require workarounds
Recommendation: Desktop Outlook on Windows is the most stable configuration for military email.
Prerequisites Before Setup
1. Install DoD Root Certificates
Before adding your account, you MUST install DoD root certificates:
For Windows:
- Download InstallRoot from https://public.cyber.mil/pki-pke/
- Run InstallRoot.exe as Administrator
- Follow prompts to install all DoD certificates
- Restart your computer
For Mac:
- Download certificates from cyber.mil
- Import into Keychain Access
- Set each certificate to “Always Trust”
- Restart
2. Install and Test CAC Reader
Your CAC reader must be working before Outlook setup:
- Install CAC reader drivers (usually comes with ActivClient or Tumbleweed)
- Insert CAC with chip facing up
- Test at https://militarycac.com/
- If prompted, select your email certificate
Troubleshooting: If CAC not detected, see our CAC Reader Not Working guide.
3. Verify Your Credentials
Know your login information:
- Email address: firstname.lastname@mail.mil (varies by service)
- Username: Usually your email or EDIPI
- CAC PIN: Required for certificate selection
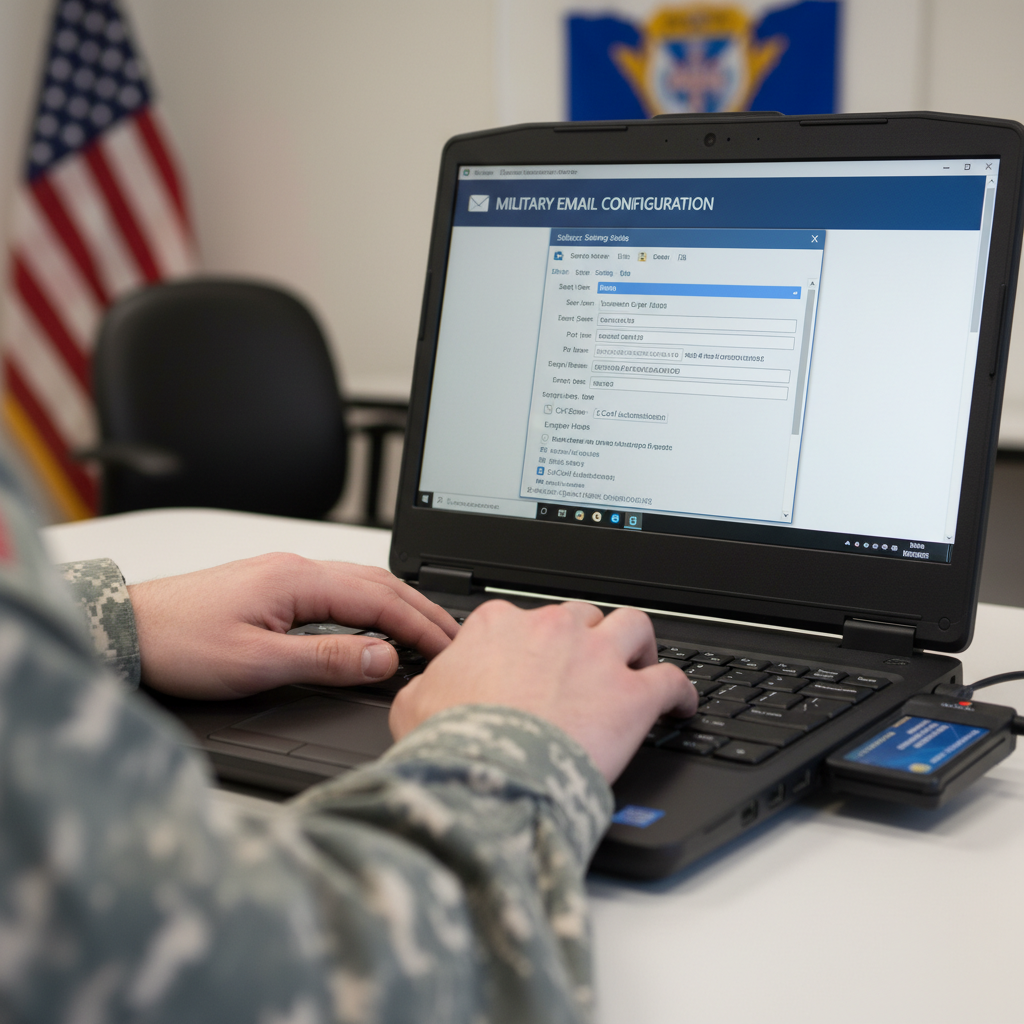
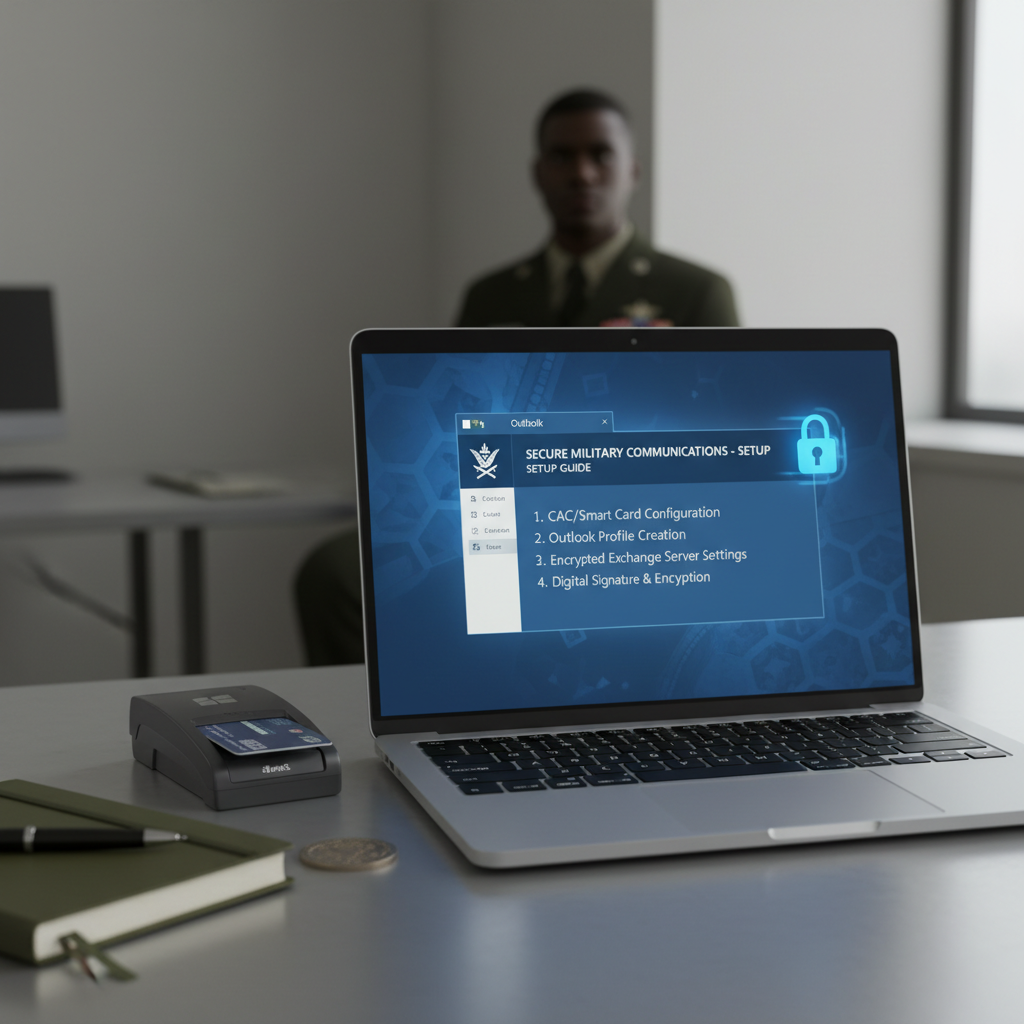
Method 1: Outlook Desktop Setup (Windows) – Recommended
Step 1: Open Outlook Account Settings
- Open Microsoft Outlook
- Click File → Add Account
- Enter your military email address
- Click Advanced Options → Check “Let me set up my account manually”
- Click Connect
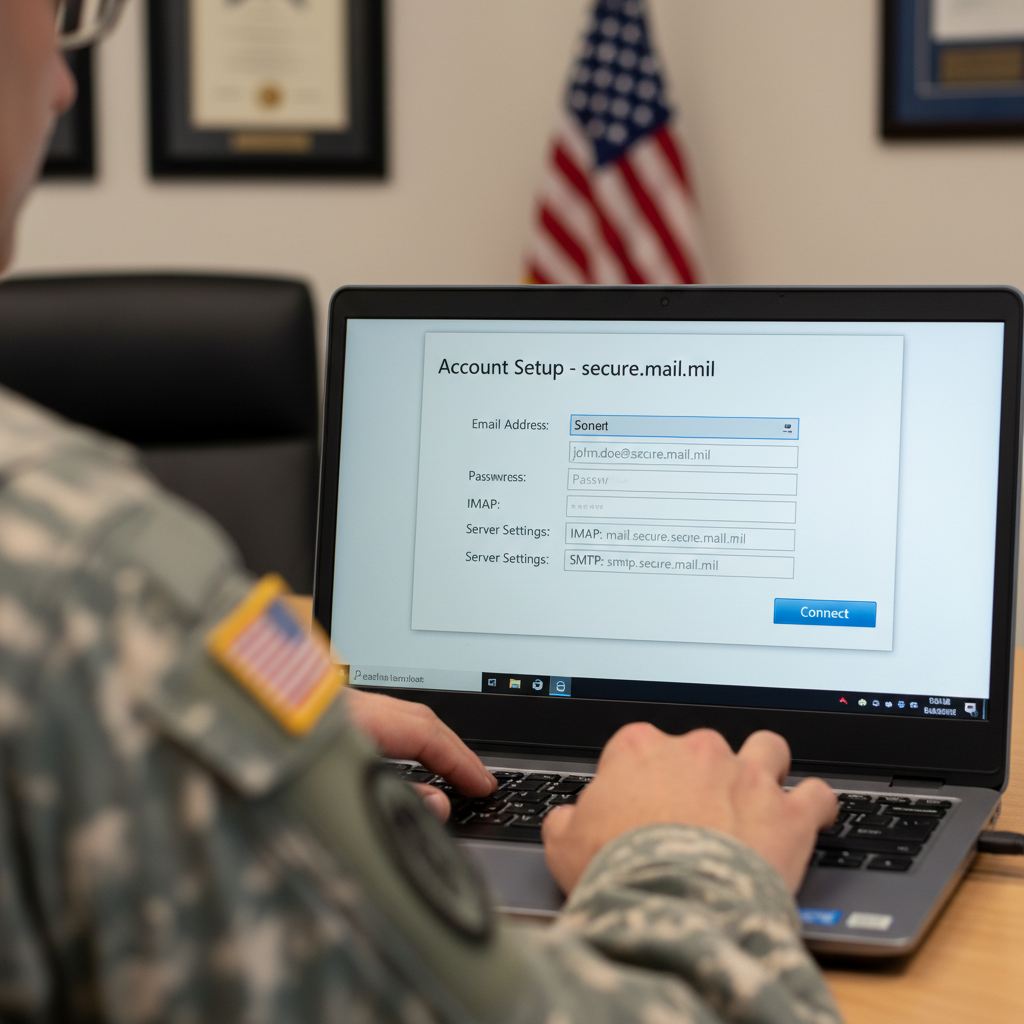
Step 2: Choose Account Type
- Select Exchange (not POP3 or IMAP)
- Click Next
Step 3: Server Configuration
Enter your service-specific server settings:
Army (.mil):
- Server: outlook.mail.mil
- Username: Your full email address
Air Force (.mil):
- Server: outlook.mail.mil
- Username: Your email address
Navy/Marines (.mil):
- Server: outlook.mail.mil or webmail.apps.mil
- Username: Your email address
Note: Server addresses change periodically. Check with your S6/IT department for current servers.
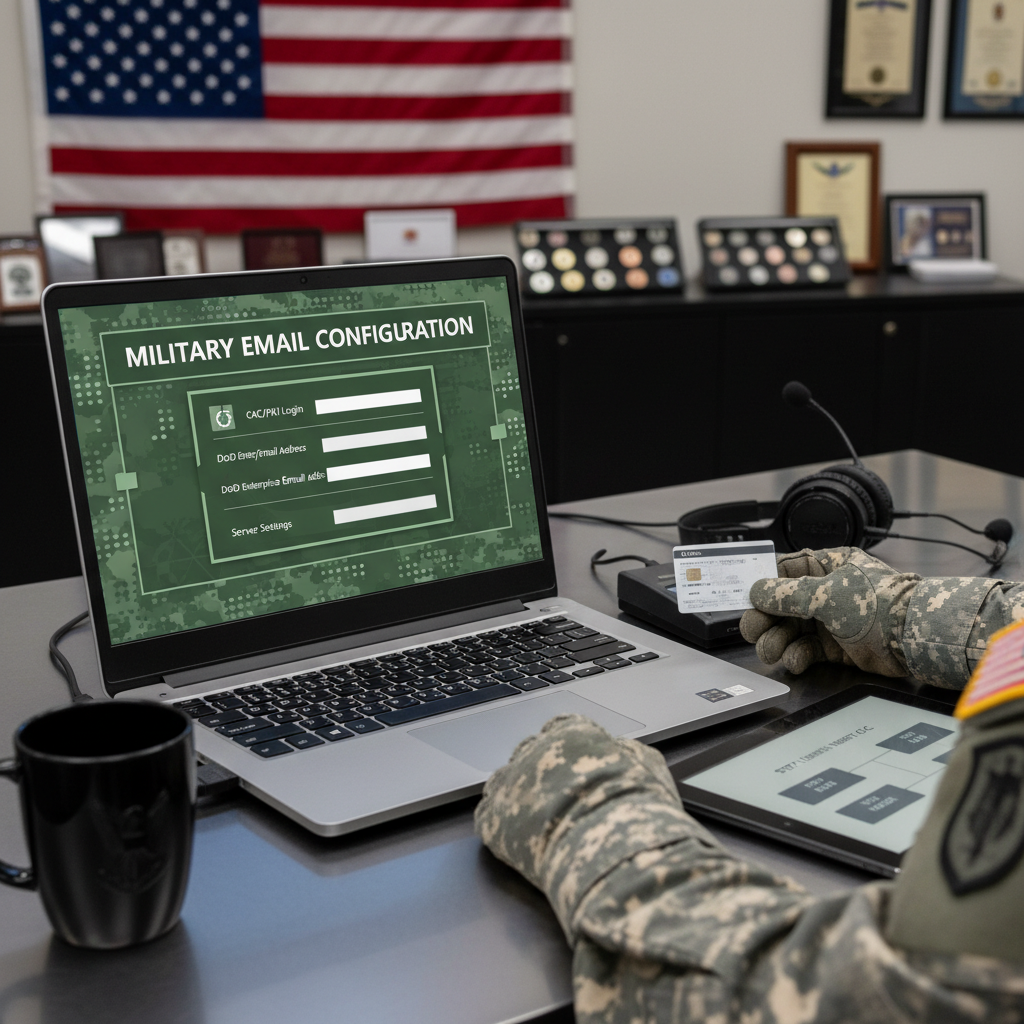
Step 4: CAC Certificate Selection
- A certificate prompt will appear
- Insert your CAC if not already inserted
- Enter your CAC PIN
- Select your email certificate (usually has “EMAIL” in the name)
- Click OK
Important: Choose the EMAIL certificate, not the ID or authentication certificate.
Step 5: Complete Setup
- Outlook will test the connection
- If successful, click Finish
- Your mailbox will begin syncing
Step 6: Enable Offline Mode (Optional but Recommended)
- Right-click your account in Outlook
- Select Account Settings → Account Settings
- Double-click your Exchange account
- Check Use Cached Exchange Mode
- Set slider to 12 months
- Click Next → Finish
Method 2: Outlook Web App (OWA) Access
Accessing OWA (Browser-Based)
If you can’t use desktop Outlook, use OWA:
- Go to https://webmail.apps.mil (or your service-specific portal)
- Select your email certificate when prompted
- Enter your CAC PIN
- Click OWA to access email
Common OWA URLs:
- Army: https://web-mail.mail.mil
- Air Force: https://web-mail.mail.mil
- Navy: https://webmail.apps.mil
- Marines: https://webmail.apps.mil
OWA Browser Requirements
- Chrome: Requires certificate selection extension
- Edge: Best compatibility (recommended)
- Firefox: Works but requires certificate import
- Safari: Limited support, not recommended
Method 3: Mac Outlook Setup
Mac setup is more complex due to certificate handling:
Step 1: Import DoD Certificates to Keychain
- Download DoD certificates from public.cyber.mil
- Open Keychain Access
- Drag certificates to System keychain
- For each certificate: Get Info → Trust → Always Trust
Step 2: Add Account in Outlook for Mac
- Open Outlook for Mac
- Click Outlook → Preferences → Accounts
- Click + → New Account
- Enter military email address
- Choose Exchange
- Enter server: outlook.mail.mil
Step 3: Certificate Selection
- When prompted, select your CAC email certificate from Keychain
- Enter CAC PIN
- Allow access to keychain if prompted
Mac Limitation: Some DoD Exchange servers don’t fully support Mac Outlook. OWA may be more reliable.
Method 4: Mobile Device Setup (iOS/Android)
Important Mobile Limitations
Mobile military email access has restrictions:
- Requires special approval in many units
- May require MDM (Mobile Device Management) enrollment
- Not all DoD Exchange servers support mobile
- Some services require separate mobile email access request
Check with your IT department before attempting mobile setup.
iOS (iPhone/iPad) Setup
- Open Settings → Mail → Accounts
- Tap Add Account → Exchange
- Enter email address
- Description: “Military Email”
- Tap Next
- Server: outlook.mail.mil
- Domain: Leave blank
- Username: Your email address
- Password: Your email password (if applicable)
- Tap Next to sync
Android Setup
- Install Microsoft Outlook app from Play Store
- Open app → Add Account
- Select Exchange
- Enter email address and password
- If prompted for server: outlook.mail.mil
- Accept security policies
- Allow app permissions
Note: You may need to install your DoD certificates on mobile devices separately.
Common Setup Problems and Solutions
Problem 1: “Cannot connect to server” Error
Causes:
- Wrong server address
- DoD certificates not installed
- Firewall blocking connection
Solutions:
- Verify server address with IT department
- Reinstall DoD root certificates
- Check firewall settings (allow Outlook through)
- Try connecting from government network first
Problem 2: No Certificate Prompt Appears
Causes:
- CAC reader not detected
- Wrong middleware installed
- Certificates not installed
Solutions:
- Test CAC reader at militarycac.com
- Reinstall ActivClient or Tumbleweed
- Run InstallRoot again
- Restart computer and try again
Problem 3: “Certificate is not valid” Error
Causes:
- Expired DoD root certificates
- Wrong certificate selected
- CAC expired
Solutions:
- Download and install latest DoD certificates
- Check CAC expiration date
- Select EMAIL certificate, not ID certificate
- Update Windows/Mac OS
Problem 4: Constant Password Prompts
Causes:
- Credentials not saved
- CAC removed during use
- Certificate expired
Solutions:
- Check “Remember password” when prompted
- Keep CAC inserted while using Outlook
- Update saved credentials in Windows Credential Manager
- Verify certificate expiration dates
Problem 5: Email Syncing Slowly or Not at All
Solutions:
- Check internet connection
- Reduce Cached Exchange Mode timeframe (3 months instead of 12)
- Create new Outlook profile
- Repair Outlook data file (Inbox Repair Tool)
- Contact S6/IT for server status
Security Best Practices
Protecting Your Military Email
- Never share CAC PIN: Your PIN is equivalent to your signature
- Remove CAC when away: Don’t leave CAC in reader unattended
- Lock screen: Always lock computer when stepping away
- Use approved devices only: Don’t access .mil email from personal devices without approval
- Report suspicious emails: Forward phishing attempts to S6/security
- Encrypt sensitive info: Use encryption for classified or sensitive data
Working from Home
If accessing military email remotely:
- Use approved VPN if required
- Don’t save credentials on shared computers
- Use private, secured WiFi networks
- Close Outlook completely when done
- Remove CAC and store securely
Differences by Military Branch
Army
- Email format: firstname.mi.lastname.mil@army.mil
- Server: outlook.mail.mil
- Special requirements: May require Army 365 migration
Air Force
- Email format: firstname.lastname@us.af.mil
- Server: outlook.mail.mil
- Special requirements: May use separate portals for some bases
Navy
- Email format: firstname.lastname@navy.mil
- Server: webmail.apps.mil or outlook.mail.mil
- Special requirements: NMCI users may have different setup
Marines
- Email format: firstname.lastname@usmc.mil
- Server: webmail.apps.mil
- Special requirements: Often shares infrastructure with Navy
Coast Guard
- Email format: firstname.m.lastname@uscg.mil
- Server: Varies (check with IT)
- Special requirements: May use DHS infrastructure
Alternative Access Methods
Using Outlook Anywhere (RPC over HTTPS)
Some configurations require Outlook Anywhere:
- File → Account Settings → Account Settings
- Double-click Exchange account
- More Settings → Connection tab
- Check “Connect to Microsoft Exchange using HTTP”
- Exchange Proxy Settings → Use this URL: outlook.mail.mil
- Check both proxy authentication checkboxes
Using Autodiscover
Let Outlook find settings automatically:
- Enter email address during setup
- Allow Outlook to use Autodiscover
- Wait for automatic configuration
- Enter CAC PIN when prompted
Maintaining Your Setup
Regular Maintenance Tasks
- Monthly: Update DoD certificates (check cyber.mil)
- Monthly: Check CAC expiration date
- Quarterly: Clear Outlook cache to improve performance
- As needed: Update Outlook to latest version
- As needed: Update CAC reader drivers
Signs You Need to Reconfigure
- Constant certificate errors
- Emails not syncing for days
- Cannot send emails
- Profile corruption errors
- After major Windows/Mac updates
Getting Additional Help
Internal Resources
- Unit S6/IT: First line of support
- Help desk: Call your service’s IT help desk
- Enterprise Service Desk: DoD-wide support
External Resources
- MilitaryCAC.com: Comprehensive CAC and certificate guides
- Public.cyber.mil: Official DoD PKI certificates
- Your service IT portal: Service-specific guidance
FAQ
Do I need a CAC reader for Outlook?
Yes, for desktop Outlook you need a CAC reader. OWA access also requires CAC but through browser certificate selection.
Can I use Gmail or other email clients?
Most DoD email servers don’t support POP3/IMAP for security reasons. You must use Outlook, OWA, or approved mobile apps.
Why does my email keep disconnecting?
Common causes: CAC removed, certificate expired, server maintenance, or network issues. Keep CAC inserted and check certificate dates.
Can I access military email from home?
Yes, but you may need VPN depending on your unit’s policy. Always use secure networks and approved devices.
How do I set up email signature?
File → Options → Mail → Signatures. Follow your unit’s signature block format requirements.
Conclusion
Setting up military email in Outlook requires careful attention to CAC authentication and certificate management, but once configured correctly, it provides reliable access to your DoD email. Remember to:
- Install DoD certificates before setup
- Use Outlook Desktop on Windows for best results
- Keep CAC and certificates current
- Select EMAIL certificate when prompted
- Contact S6/IT for server-specific settings
If you continue to experience issues, your unit’s IT department can provide service-specific settings and additional troubleshooting. Proper email setup ensures you stay connected with your unit and can fulfill your mission requirements efficiently.


Leave a Reply